Battle of Sharon: The Decisive Allied Breakthrough in World War I
The Battle of Sharon, fought between September 19 and 25, 1918, stands as a masterclass in combined arms warfare during the Middle Eastern theatre of World War I. Characterized by a blend of intense infantry assaults, rapid cavalry advances, and strategic aerial bombardment, the engagement resulted in a crushing Allied victory that effectively collapsed the Ottoman defensive lines in Palestine.
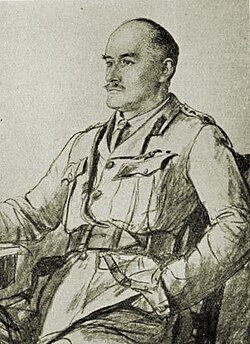
Led by General Edmund Allenby, the Allied forces utilized a strategy of concentration, surprise, and speed—elements of what would later be recognized as blitzkrieg warfare—to breach the Ottoman front and encircle their remaining armies.
Key Facts
- Date: 19–25 September 1918.
- Outcome: Decisive Allied victory.
- Allied Strength: 35,000 infantry, 9,000 cavalry, and 383 guns on the primary coastal sector.
- Ottoman Strength: Approximately 8,000 infantry and 130 guns facing the main coastal attack.
- Major Casualties: XXI Corps suffered 3,378 casualties; Ottoman forces suffered over 3,000 dead/wounded and more than 25,000 prisoners.
- Strategic Result: Capture of Tulkarm and Tabsor, followed by the occupation of the Esdraelon Plain.
The Opposing Forces
The Egyptian Expeditionary Force (EEF)
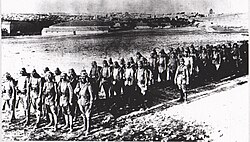
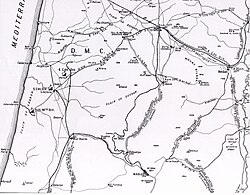
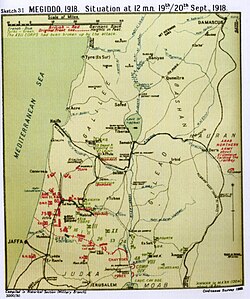
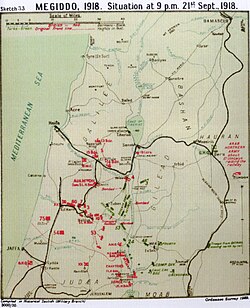
The Allied force, known as the Egyptian Expeditionary Force, was a multinational coalition including troops from the United Kingdom, India, Australia, and New Zealand. General Allenby concentrated his primary striking force on the first 15 miles of the front line stretching inland from the Mediterranean coast.
The Desert Mounted Corps provided the essential mobility for the operation. The 5th Cavalry Division and 4th Cavalry Division were strategically hidden in olive and orange groves to avoid detection by enemy aircraft, using irrigation channels to water their horses in secret.
The Yildirim Army Group
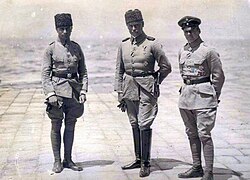
The defending Ottoman and German forces were organized under the Yildirim Army Group, commanded by General Otto Liman von Sanders. The defense was split primarily between the Eighth Army, headquartered at Tulkarm, and the Seventh Army, headquartered at Nablus.
Despite the threat, the Ottoman forces were severely depleted. Some battalions in the Asia Corps had effective strengths comparable to a single British infantry company, ranging from only 100 to 250 men.
Strategic Execution and the Breakthrough
The Role of Air Power
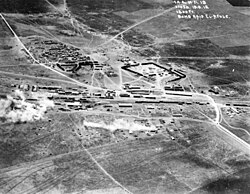
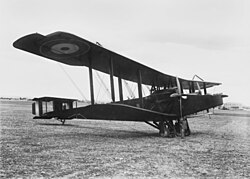
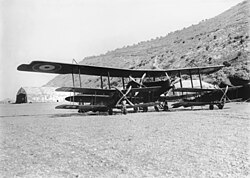
The Royal Air Force (RAF) and the Australian Flying Corps (AFC) played a pivotal role in the victory. Operating from bases at Ramle and Junction Station, aircraft provided tactical reconnaissance, photography, and devastating bombing operations against enemy transport and communication lines.
The Infantry Assault
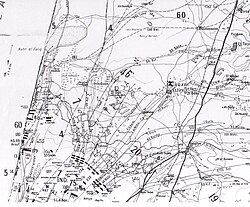
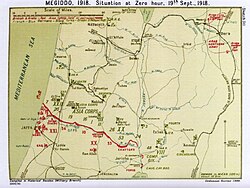
The battle began on September 19. The 60th Division of the XXI Corps launched a concentrated attack, capturing the front line and establishing a bridgehead across the mouth of Nahr el Faliq. This breach created the necessary gap for the cavalry to pour through and advance northwards.
Cavalry Encirclement
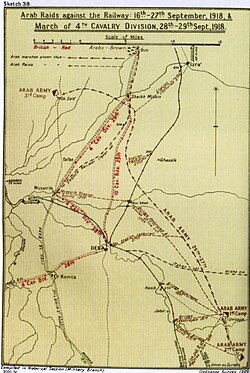
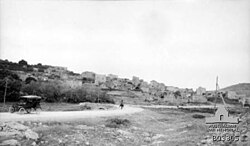
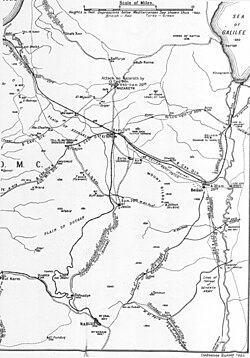
Once the infantry cleared the coastal plain, the Desert Mounted Corps surged forward. The 5th Light Horse Brigade captured Tulkarm, while other divisions pushed toward Haifa, Nazareth, and Samakh. By September 25, the encirclement of the remaining Seventh and Eighth Armies in the Judean Hills was complete.
The Collapse of the Ottoman Defense
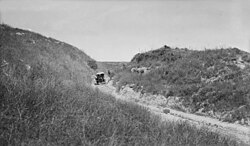
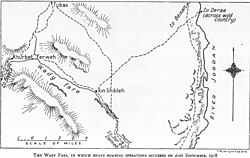
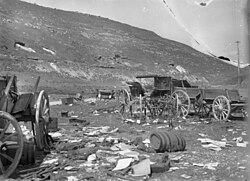
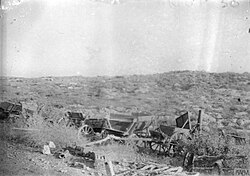
As the Ottoman forces attempted to retreat, they were subjected to relentless aerial attacks. The RAF and AFC targeted the narrow passes and roads, most notably in the Wady Fara, turning the retreat into a catastrophe for the Yildirim Army Group.
The destruction of transport and the capture of thousands of prisoners signaled the end of organized resistance in the sector. The victory was so absolute that King George V sent a telegram of congratulations to General Allenby on September 23.
Summary of Battle Statistics
| Category | Allied Forces (EEF) | Ottoman/German Forces |
|---|---|---|
| Infantry (Coastal Sector) | 35,000 | ~8,000 |
| Cavalry/Mounted | 9,000 | Variable (Reserve 2nd Caucasian Cav) |
| Artillery Guns | 383 | 130 (Coastal Sector) |
| Personnel Losses | ~3,500 (XXI Corps & DMC) | 3,000+ dead/wounded; 25,000+ prisoners |
Frequently Asked Questions
What was the primary goal of the Battle of Sharon?
The primary goal was to breach the Ottoman front line along the Mediterranean coast, allowing the Desert Mounted Corps to advance rapidly into the Esdraelon Plain and encircle the Ottoman Seventh and Eighth Armies.
How did General Allenby achieve surprise?
Allenby used a sophisticated deception plan to mislead the Ottomans about the location of the main attack and camouflaged his massive cavalry force in orange and olive groves to hide them from aerial reconnaissance.
What role did the Australian Flying Corps play?
The AFC provided critical reconnaissance and conducted strategic bombing missions that destroyed enemy transport and disrupted the Ottoman retreat, particularly in the Wady Fara region.
Why were the Ottoman forces so easily overwhelmed?
The Ottoman forces were severely understrength, with some battalions reduced to the size of companies. Additionally, they were heavily outnumbered in both infantry and artillery in the coastal sector where the main attack occurred.
What was the significance of the capture of Tulkarm?
Tulkarm served as the headquarters for the Ottoman Eighth Army. Its capture disrupted the enemy's command and control and opened the road for the Allied advance toward Nablus and the Jordan Valley.