Australian and New Zealand Mounted Division
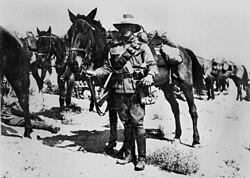
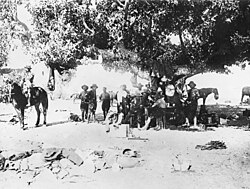
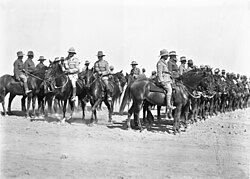
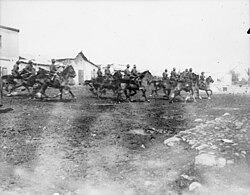
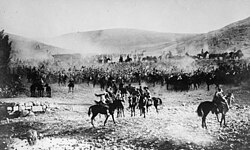
The Australian and New Zealand Mounted Division was a specialized mounted infantry formation of the British Empire during World War I. Established in March 1916, this division combined the mobility of cavalry with the firepower of infantry, playing a pivotal role in the Sinai and Palestine campaign. Operating under the British Empire's allegiance, the division was designed for manoeuvre warfare—a strategy emphasizing movement and flexibility to outflank the enemy.
At its inception, the division consisted of four brigades: three Australian Light Horse and one New Zealand mounted rifles, supported by British horse artillery. Over time, its composition evolved; by April 1917, the standard order of battle settled into two Australian brigades and one New Zealand brigade, frequently augmented by the Imperial Camel Corps Brigade (ICCB) and other British mounted units.
Key Facts
- Active Period: 16 March 1916 – 30 June 1919.
- Primary Role: Mounted infantry and horse artillery specializing in manoeuvre warfare.
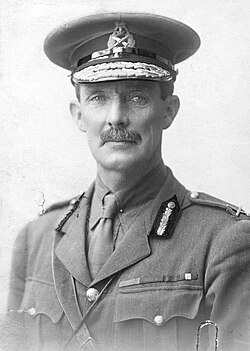
- Key Commanders: Harry Chauvel (1916–17), Edward Chaytor (1917–18), and Granville Ryrie (1918–19).
- Major Campaigns: Sinai and Palestine campaign of the First World War.
- Notable Victories: Romani, Rafa, and the capture of Beersheba and Amman.
Early Operations in the Sinai
The division's first offensive action occurred during the Jifjafa raid between 11 and 14 April 1916, where they crossed the Suez Canal. Following this, the 2nd and New Zealand Brigades moved into the Sinai Desert to stabilize the front near Romani.
During this period, the division modernized its weaponry. Machine-gun squadrons were formed, utilizing twelve Maxim guns carried on pack horses. These were later supplemented or replaced by Lewis guns and Hotchkiss machine-guns to increase tactical flexibility.
The Battle of Romani marked the division's first major victory after reconnaissance aircraft spotted up to 18,000 Turkish soldiers approaching. This was followed by the Battle of Rafa on 8 January 1917, where the division executed a rapid 26-mile overnight march from El Arish to launch a successful assault.
The Push to Beersheba and Gaza
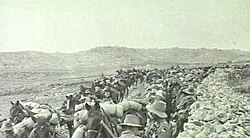
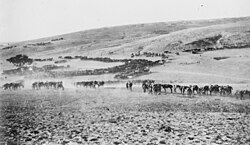
By late 1917, the division was instrumental in breaking the Turkish lines. On 31 October, the capture of Beersheba was achieved through a coordinated effort. The 1st Light Horse and New Zealand Brigades attacked Tel el Saba, while the 2nd Light Horse Brigade severed the road to Hebron.
The New Zealanders captured Tel el Saba with a bayonet charge, taking 132 prisoners. The final victory at Beersheba was secured following a famous mounted infantry charge by the 4th Light Horse Brigade.
The Jordan Valley and the Amman Raids
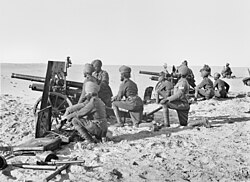
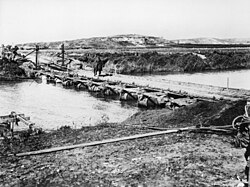
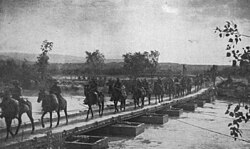
The division's operations shifted toward the east in a series of raids on Amman. These operations were plagued by extreme weather, including heavy rain and the flooding of the River Jordan. Despite these challenges, Australian engineers and the 3rd Light Horse managed to raft infantry across the river at Hajla on 21–22 March.
The Auckland Mounted Rifles secured the east bank, allowing the British to bridge the river at Ghoraniye. However, the assault on Amman proved costly. Despite capturing 615 prisoners and significant equipment, the division suffered heavy casualties—128 dead and 551 wounded—and was eventually forced to withdraw to the Jordan Valley.
Defending the Ghoraniye Bridge-head
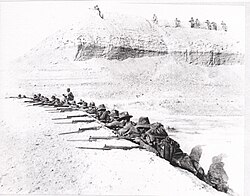
In April, the division faced a large Turkish counter-attack at Wadi Nimrin and Musallabeh. The 1st and 3rd Light Horse Regiments utilized their mobility to encircle the enemy, while the ICCB engaged in close-quarters fighting at Musallabeh. The Turkish forces were eventually repelled, leaving 170 dead at Musallabeh.
The Final Capture of Amman
In September 1918, under "Chaytor's Force," the division launched a final, successful offensive. The New Zealand Brigade captured Es Salt, while the 2nd Light Horse Brigade pushed toward Amman. The breakthrough occurred when the 7th Light Horse Regiment fixed bayonets and charged the Turkish trenches.
The operation ended in a decisive victory, with the division capturing the Amman rail station and the old citadel, taking a total of 2,360 prisoners.
Summary of Division Details
| Category | Details |
|---|---|
| Formation Date | March 1916 |
| Disbandment Date | 30 June 1919 |
| Composition | Australian Light Horse, NZ Mounted Rifles, British Horse Artillery |
| Key Engagements | Romani, Rafa, Beersheba, Amman |
| Higher Command | I ANZAC Corps, Desert Mounted Corps, XX Corps |
Frequently Asked Questions
What was the primary role of the ANZAC Mounted Division?
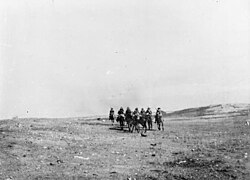
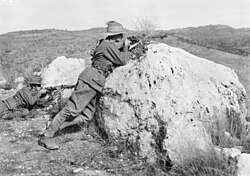
The division served as mounted infantry, meaning they used horses for rapid movement across difficult terrain but typically dismounted to fight as infantry using rifles and machine guns.
Who were the main commanders of the division?
The division was led by Harry Chauvel from 1916 to 1917, followed by Edward Chaytor from 1917 to 1918, and finally Granville Ryrie from 1918 to 1919.
What was the significance of the Battle of Beersheba?
Beersheba was a critical victory achieved through a combination of coordinated attacks on Tel el Saba and a decisive mounted charge by the 4th Light Horse Brigade, which helped break the Gaza line.
How did the division handle the crossing of the River Jordan?
Due to flooding and Turkish resistance, the division used Australian engineers to raft infantry across at Hajla and later established a bridge-head at Ghoraniye to facilitate the raids on Amman.
What equipment did the division use for firepower?
The division utilized Maxim guns on pack horses, Lewis guns, and later Hotchkiss machine-guns, supported by British horse artillery.