Sinai and Palestine campaignWorld War IOttoman EmpireEgyptian Expeditionary ForceBattle of Gaza

Sinai and Palestine Campaign: The Allied Push Against the Ottoman Empire

Sinai and Palestine Campaign: The Allied Push Against the Ottoman Empire The Sinai and Palestine campaign was a pivotal series of military operations during World War I, spanning from Nov...

Sinai and Palestine Campaign: The Allied Push Against the Ottoman Empire

The Sinai and Palestine campaign was a pivotal series of military operations during World War I, spanning from November 17, 1914, to October 30, 1918. Fought across British Egypt and Ottoman Syria, this campaign saw the Allied Powers strive to protect the vital Suez Canal and eventually dismantle the Ottoman Empire's hold on the Levant. What began as a defensive struggle evolved into a sweeping offensive that fundamentally reshaped the map of the Middle East.

The conflict pitted a diverse coalition of Allied forces—including the United Kingdom, India, Australia, New Zealand, France, and others—against the Central Powers, primarily the Ottoman Empire supported by Germany and Austria-Hungary. The result was a decisive Allied victory and the subsequent partition of the Ottoman Empire.
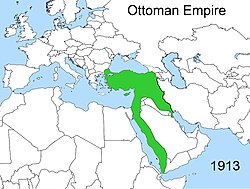
Ottoman Empire in 1913 (in green)

Key Facts

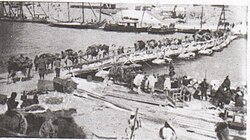
New Zealand Mounted Rifle Brigade transport crossing Pontoon Bridge at Serapeum 6 March 1916
  • Duration: Nearly four years (Nov 1914 – Oct 1918).
  • Primary Objective: Protection of the Suez Canal and the capture of Palestine and Syria.
  • Allied Strength: Peaked at approximately 467,650 personnel by September 1918.
  • Ottoman Strength: Estimated between 200,000 and 400,000 personnel by January 1918.
  • Major Outcome: Total Allied victory leading to the collapse of Ottoman rule in the region.

Defending the Suez Canal (1915–1916)
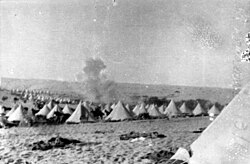
Romani 1 June 1916 bombs falling on B Squadron, 3rd Light Horse Regiment, 1st Light Horse Brigade tent lines 8 men killed 22 wounded, 36 horses killed 9 wounded, 123 missing

The campaign opened with a critical focus on the Suez Canal, the lifeline of the British Empire. To secure this waterway, the British established three main defensive sectors: the Southern sector (Suez to Kabrit), the Central sector (Kabrit to Ferdan), and the Northern sector (Ferdan to Port Said). These lines were manned by a mix of imperial forces, including the I ANZAC Corps (Australian and New Zealand Army Corps).
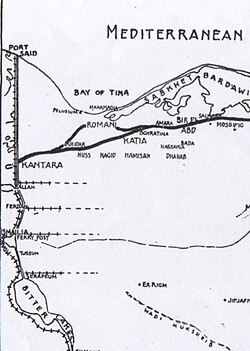
Map of improved defences

The Ottoman forces attempted to disrupt these defences, leading to early clashes and air raids. In June 1916, Ottoman bombers targeted Romani, resulting in significant casualties for the 1st Light Horse Brigade. This period of tension culminated in the Battle of Romani, which halted the Ottoman advance and shifted the momentum in favor of the Allies.
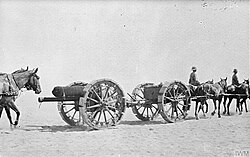
18-pounder gun with sand wheels, Suez Canal Defences 1916

The Sinai Campaign and Manoeuvre Warfare
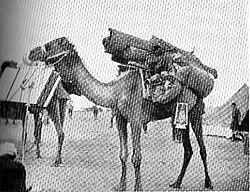
Brigade Headquarters Office Ready for the Road

Following the victory at Romani, the Allies transitioned from a defensive posture to an offensive one. This phase was characterized by manoeuvre warfare—a strategy emphasizing movement and flexibility over static trench lines. To support this advance across the harsh desert, the British undertook massive engineering projects, including the construction of a railway and water pipelines across the Sinai Peninsula.
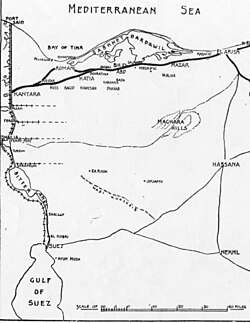
Suez Canal to El Arish

The Allied forces utilized specialized units to navigate the terrain, most notably the Imperial Camel Corps and various mounted divisions. Key victories at the Battle of Magdhaba in December 1916 and the Battle of Rafa in January 1917 effectively cleared the Sinai of Ottoman forces, bringing the first phase of the campaign to a close.
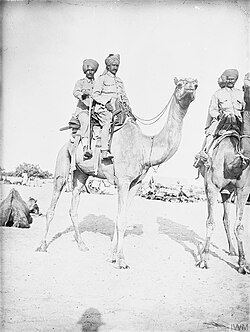
Bikaner Camel Corps, El Arish 1918

The Gaza Campaign and the Southern Offensive
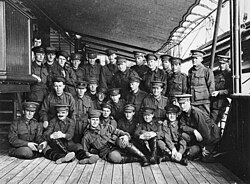
Reinforcements to No. 1 Squadron Australian Flying Corps on 25 July 1916 on board P & O "Malwa" on their way to Egypt

As the Allies entered Palestine, they encountered the fortified city of Gaza. The initial attempts to take the city resulted in the First and Second Battles of Gaza in April 1917, both of which ended in stalemate. This period of deadlock persisted until the arrival of General Edmund Allenby, who reorganized the Egyptian Expeditionary Force (EEF) for a more aggressive push.
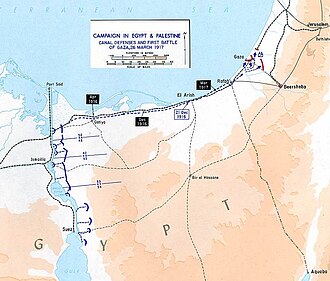
Assault on Gaza 1917 showing Suez Canal defences and lines of communication across the Sinai Peninsula

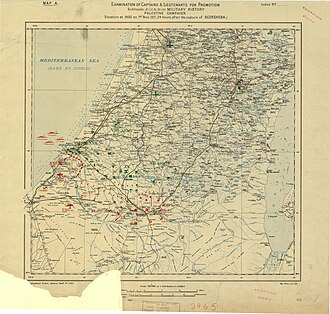
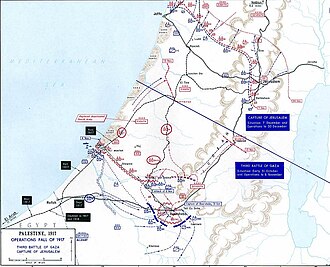
Allenby's strategy shifted toward a flanking maneuver. On October 31, 1917, the Battle of Beersheba took place, featuring a famous cavalry charge that broke the Ottoman line. This breakthrough allowed the Allies to capture Gaza and advance rapidly toward the Judean Hills, eventually leading to the capture of Jerusalem in December 1917.
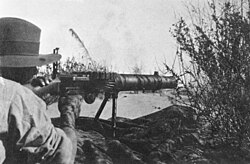
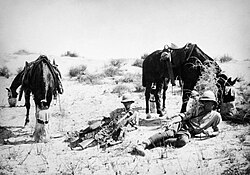
A soldier is looking through the sights of a machine gun amongst the grass in the prone position.
An Australian soldier firing a Lewis Gun during the Battle of Magdhaba

The Final Push: Megiddo and Damascus

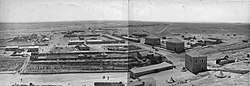
Ottoman military town of Hafir el Aujah, the principal desert base

The final year of the campaign saw intense operations in the Jordan Valley and the Judean Hills. After a period of consolidation, Allenby launched the Megiddo offensive in September 1918. This masterstroke of coordination between infantry, cavalry, and air power shattered the Ottoman Seventh and Eighth Armies.
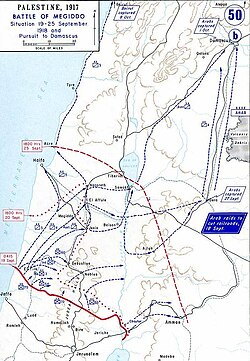
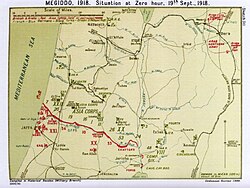
Allenby's final attack, September 1918

The collapse of the Ottoman front led to a rapid pursuit through Syria. Allied units, including Australian, British, French, Indian, and New Zealand forces, entered Damascus on October 2, 1918. The campaign concluded shortly after with the capture of Aleppo and the signing of the Armistice of Mudros.
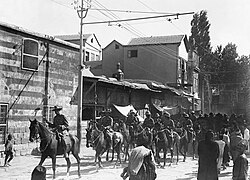
Lieutenant General Chauvel leading march through Damascus by Australian, British, French, Indian and New Zealand units, 2 October 1918

Campaign Summary and Casualties

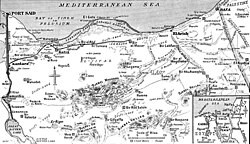
Map of north and central Sinai, 1917

The scale of the conflict is reflected in the heavy losses sustained by both sides, particularly during the final offensives and due to the prevalence of disease in the desert environment.

Engagement Year Approx. Allied Casualties Key Outcome
Sinai Operations 1915-16 2,700 Suez Canal secured
1st & 2nd Gaza 1917 3,310 Tactical stalemate
3rd Gaza / Jerusalem 1917 28,057 Capture of Jerusalem
2nd Jordan Advance 1918 3,000 Strategic positioning
Megiddo / Syria 1918 101,300 (incl. POWs) Ottoman collapse

Frequently Asked Questions
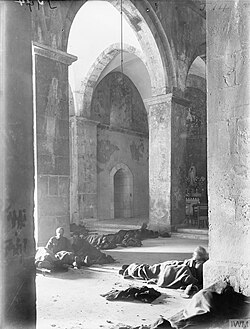
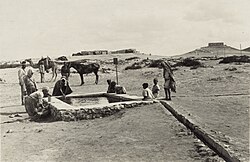
Kuseimeh
Kuseimeh
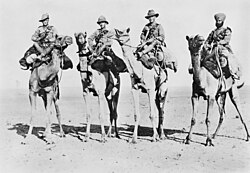
Australian, English, New Zealand and Indian cameliers in Palestine.
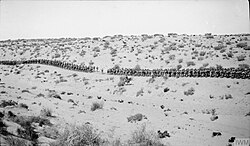
February 1917 Infantry marching on the wire road across the desert between Bir el Mazar and Bardawil
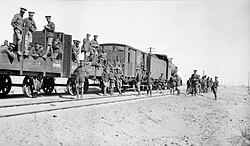
1/11th County of London Battalion London Regiment, 162nd Brigade, 54th (East Anglian) Division halted during the journey from Suez to Kantara
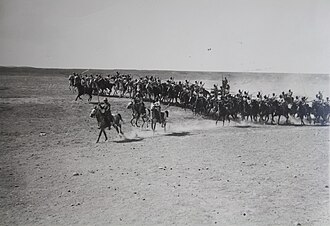
Ottoman cavalry unit during World War I frontal assault the Land of Israel
Ottoman cavalry unit during World War I frontal assault Palestine
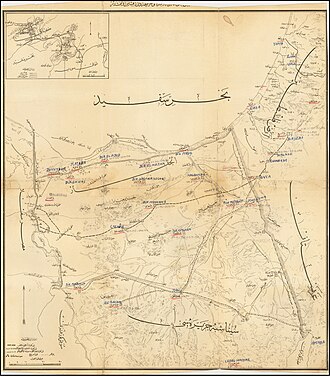
c.1917 Ottoman Turkish map of the Sinai and Palestine Campaign
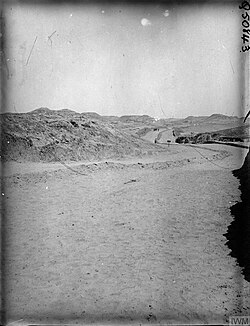
Shellal road
Shellal road
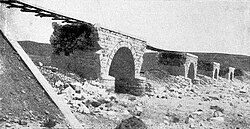
Part of 15 miles of railway line blown up in May 1917 by the Anzac and Imperial Mounted Divisions' and the Imperial Camel Corps Brigade' engineers assisted by troopers.
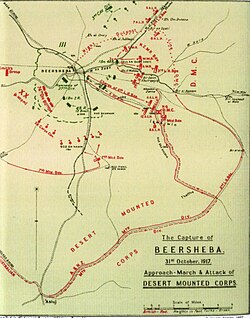
Approach marches and attacks
Military situation immediately prior to the release of the Balfour Declaration.
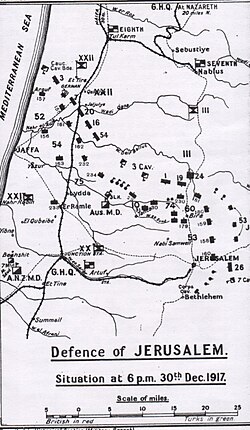
Allenby's Offensive, November–December 1917
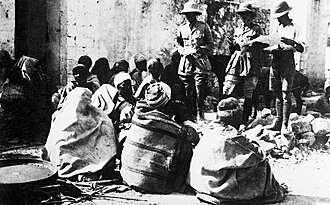
November 1918 British officer questioning the inhabitants of a captured village during the advance
Wounded of the 5th Battalion Somerset Light Infantry and 4th Battalion Wiltshire Regiment in a Dressing Station located in the monastery at Kuryet el Enab which the 75th Division captured on 20 November 1917
Yeomanry patrol in 1918 during a pause in the desert
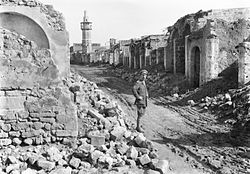
Gaza in ruins, February 1918
Falls Sketch Map 21 shows position of front line before the capture of Jericho
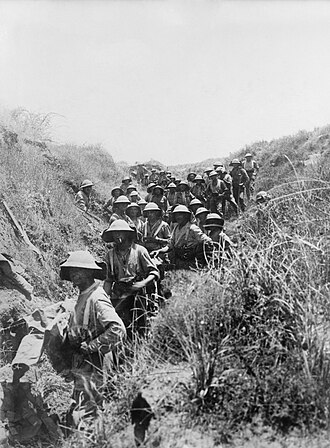
2nd Battalion Black Watch in trenches on Brown Ridge after the action at Arsuf on 8 June 1918
Falls Sketch Map 30 shows position of the front line before the Battle of Megiddo in September 1918
The 60th (2/2nd London) Division marching from Jerusalem to the Jordan Valley, March 1918
British and Indian officers of the 18th Lancers at Tel el Kebir on arrival from France in April 1918

Who were the primary belligerents in the Sinai and Palestine campaign?

The campaign was fought between the Allied Powers—led by the United Kingdom and its Empire (including India, Australia, New Zealand, and South Africa), France, and Italy—and the Central Powers, primarily the Ottoman Empire with support from Germany and Austria-Hungary.

What was the strategic importance of the Suez Canal?

The Suez Canal was the primary maritime link between Britain and its colonies in Asia, particularly India. Protecting it was essential for maintaining imperial communications and troop movements.

How did the terrain affect the military strategy?

The harsh desert environment necessitated the use of mounted troops (cavalry and camels) and massive logistical efforts to provide water and transport via newly constructed railways.

What was the significance of the Battle of Beersheba?

The Battle of Beersheba was a turning point that broke the stalemate at Gaza. The successful capture of the town allowed the Allied forces to flank the Ottoman defenses and begin their advance toward Jerusalem.

What was the final result of the campaign?

The campaign ended in a decisive Allied victory, resulting in the capture of Damascus and Aleppo and contributing to the eventual partition of the Ottoman Empire.

References

  1. POWs held by the end of the war are given as 5,703 officers and 96,133 other ranks, broken down by ethnicity. However that total also includes "over 3,000" Austro-German men and 206 Austro-German officers, which are listed below separately. Ottoman POWs alone would therefore be 5,497 officers and about 93,000 other ranks. Of these 8,000 were captured by the Arab insurgents under King Hussein.[Statistics of the Military Effort of the British Empire During the Great War 1914–1920, The War Office, p. 633.]
  2. War Office policy in March 1916 was to withdraw as many troops as possible from Salonika, remain disengaged in the Balkans, keep Egypt secure and 'to keep a reserve in Egypt for India as long as it seems likely to be required' and get everyone else to France. [Bruce 2002, pp. 35–6]
  3. General Murray had been Robertson's immediate predecessor. Chief of the General Staff (United Kingdom)#Chiefs of the Imperial General Staff, 1909–1964
  4. Allenby wrote to Robertson on 25 January 1918: "If I could destroy 10 or 15 miles of rail and some bridges and get touch with the Arabs under Feisal – even temporarily – the effect would be great." [Allenby letter to Robertson 25 January 1918 in Hughes 2004, p. 127] Fifteen miles of railway including all bridges were destroyed on 23 May 1917 on the railway from Beersheba to Auja. [Wavell 1968, p. 90; Powles 1922, pp. 110, 113] For a description of the procedure used to destroy the rails see Powles 1922, p. 112.
  5. The Hedjaz railway stretched 800 miles (1,300 km) from Medina to Damascus with connections to Istanbul and Baghdad. [Woodward 2006, p. 162]